![Explainer videos with an AI avatar [tutorial]](/_next/image?url=https%3A%2F%2Finfinity-blog.ghost.io%2Fcontent%2Fimages%2F2024%2F10%2FHow-to-make-an-AI-video-podcast-about-ANYTHING--3-.png&w=3840&q=75)
Explainer videos with an AI avatar [tutorial]
Video is one of the most engaging and effective formats for explaining things. But recording videos - even if it's yourself at your desk - is always time consuming. As you're editing, you realize that you wanted one thing said differently and it's hard to go back and get the footage.
Infinity can be used to generate educational or explainer videos much faster. Since all you need to do is type out the script, it's fast to iterate. You can immediately see what the video looks like and iterate on the script or the delivery accordingly.
Here is an explainer video we made about Infinity using Infinity 🤯
How to generate explainer videos
1.Write the script
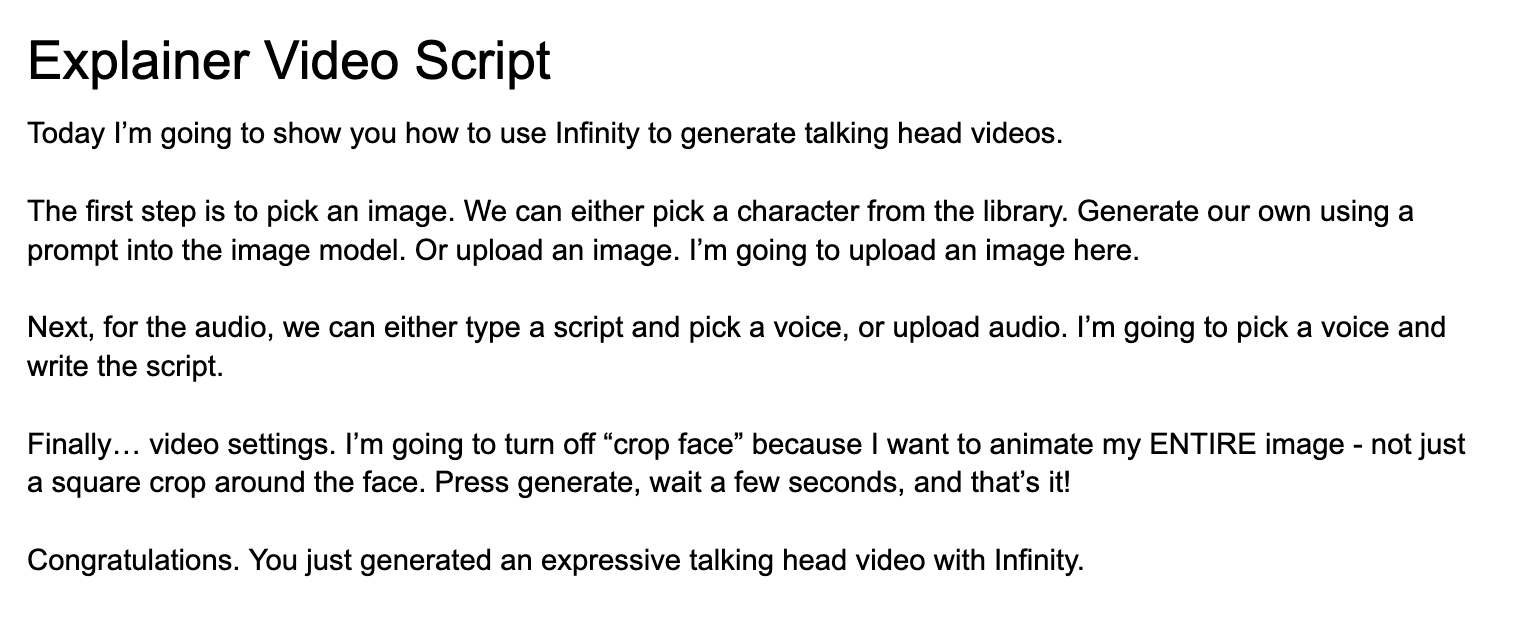
Write the script for your video. Break it up into sections of 400 characters at a time. Here's the script for the above video:

2.Cast your teacher
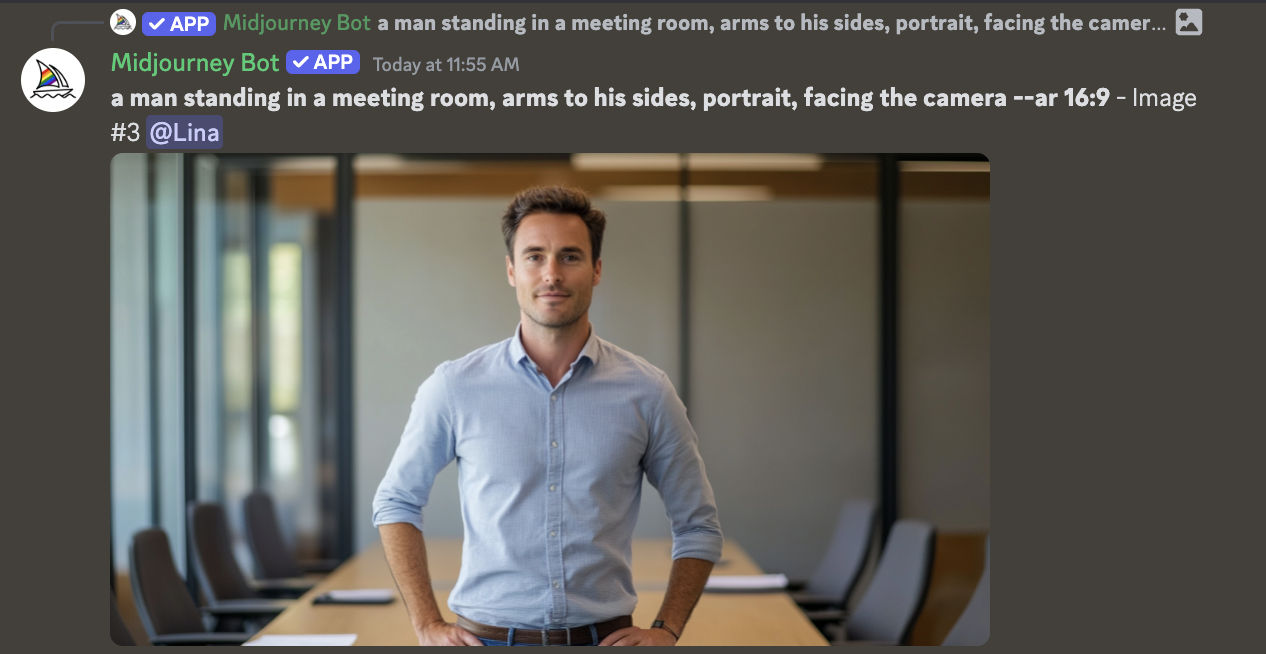
Pick a stock image or imagine an entire synthetic person using AI. You can generate AI-characters directly in Infinity. For this video, we generated a fake spokesperson in Midjourney. This was our prompt:

3.Generate videos
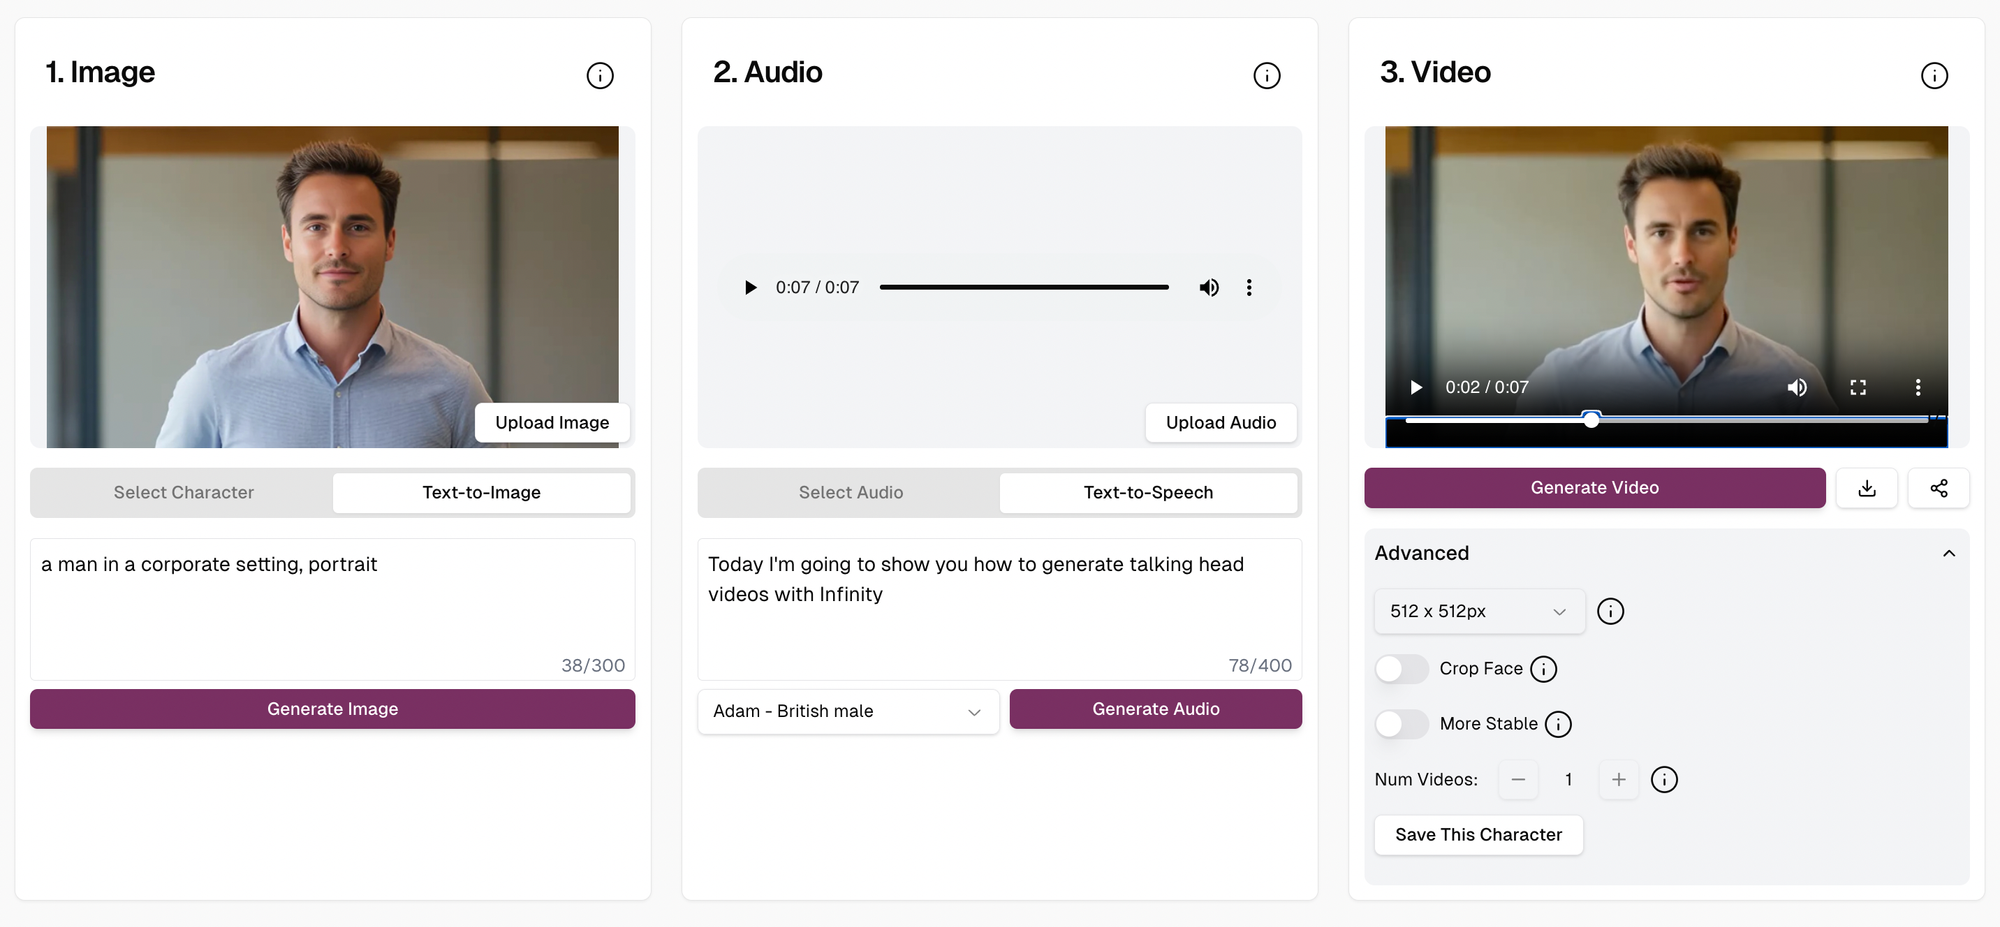
Go to studio.infinity.ai. Upload the image of your teacher into the "Image" section. Pick a voice from the dropdown menu and paste your script into the "Audio" section. Generate the audio sample and listen to it. Update the script and/or voice accordingly.
When you're happy with the audio, click "Generate" in the video section. Download the video and repeat the process with the rest of your script.

4.Record a screen recording
In this video, we used screen.studio to do the product recording. Screen generates nice zoom ins and large mouse pointer icons. It looks more professional compared to a plain screen recording.
5.Put it all together
Come back to your video editor (we used CapCut for this video) and stitch all of your clips together side-by-side with the screen recording. Voilá! You just made an AI explainer video 🙌
Tools used in this tutorial: Midjourney (character creation), Infinity (talking head video), Screen.studio (screen recording), CapCut (video editing)