![Product Ads Using Infinity and Runway Gen-3 [tutorial]](/_next/image?url=https%3A%2F%2Finfinity-blog.ghost.io%2Fcontent%2Fimages%2F2024%2F12%2FScreen-Shot-2024-12-10-at-9.44.00-PM.png&w=3840&q=75)
Product Ads Using Infinity and Runway Gen-3 [tutorial]
Overview
AI is making the creation of videos faster and easier… including in advertising. This tutorial will walk you through creating a cinematic perfume ad using AI. But the techniques covered extend far beyond perfumes to various video types from films to explainer videos. Specifically, this tutorial will go over:
- How to generate images of the same character in multiple scenes
- How to make the character speak (talking head videos)
- How to integrate both speaking and action shots together
This is the ad we’ll be making:
It’s the AI version of the original Ms. Dior perfume ad (see here).
Outline
- Step 1: Storyboard Your Ad
- Define the brief
- Cast your character
- Storyboard the ad - Step 2: Generate video clips
- Generate talking head clips on Infinity
- Generate action clips on Runway - Step 3: Editing and Finalizing
- Match the visuals to the music
- Use slow zooms to make the video more engaging.
- Increase and decrease the music dynamically.
- Add transitions in between clips.
- Color grade the video. - List of Tools Used
Step-by-Step Tutorial
Step 1: Storyboard Your Ad
Define the brief
What is the music, visual mood, or script you’re trying to bring to life? Since this was an AI rendition of the original Miss Dior perfume ad, we knew we liked: 1) the music, and 2) the French countryside aesthetic.
Tip: If using this as a real ad, ensure you have commercial rights for any music. BenSound.com and EpidemicSound.com are great sites. CapCut and PremierePro also have built-in audio libraries with rights.
Cast your character
Use Infinity to create and “audition” various character options.
- Visit Infinity and type a prompt into the “text-to-image” section
For example: “a tiktok influencer, female, facing the camera”
If you have specific characteristics you’re looking for, you can specify “blonde hair” or “Japanese”. At this point, we’re looking for a face we like. We’ll put this person into specific scenes down the road. - Select a voice and write a basic test script. Press “generate audio.”
For example: “And you? … What would YOU do for love?” - Press “send to queue” to generate a test clip of this character
Generation parameters: Crop face = OFF, Resolution = 250k, Stability = Expressive - Repeat this process with several different character options.
- Select and save the character
Watch all of the test clips and then pick your favorite character. Save the character via the “create new character” button. Tip: You need to have a saved character in order to generate them in diverse scenes

Storyboard your ad
Now that you have saved your character, you can generate them in all sorts of different scenes. Select your character and type a prompt into the “customize your character” text box.
For example: “in a field of flowers” or “swimming in the mediterranean sea with turquoise blue waters” or “wearing vintage sunglasses, facing the camera”
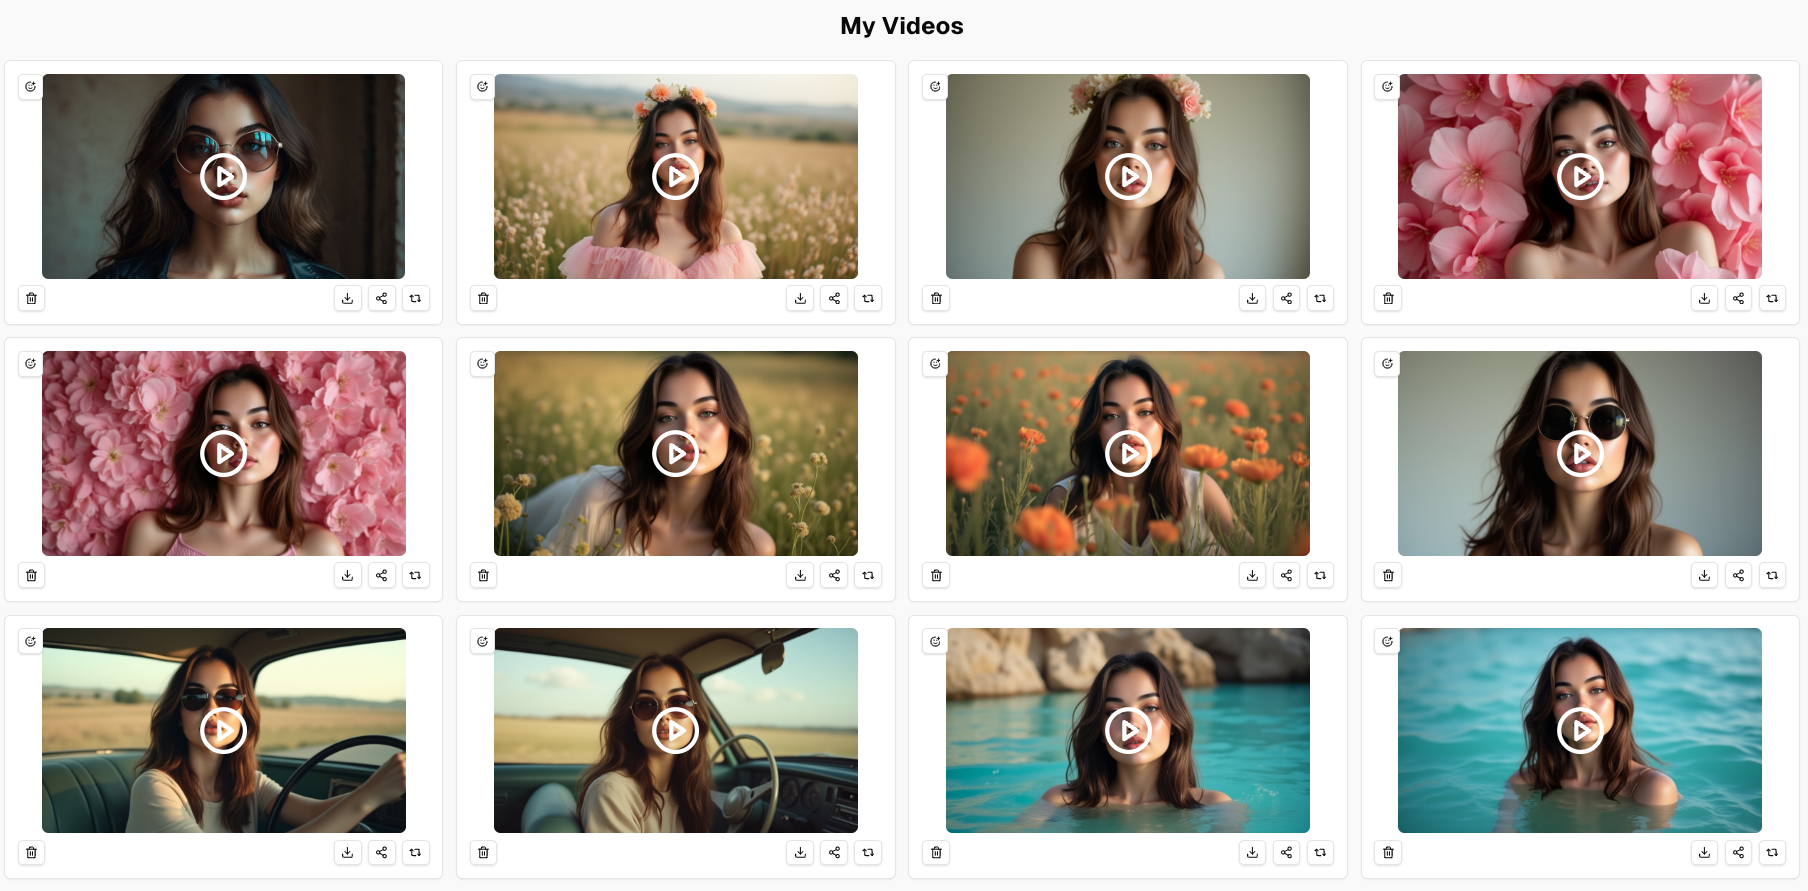
Generate test video clips whenever you find a scene that you like.
Tip: It’s important to base your storyboard on what actually works. This is why I like to always test the images I’m considering by generating a quick test clip. It prevents me from creating a whole storyboard concept only to realize down the road that my character or images or voice don’t work.
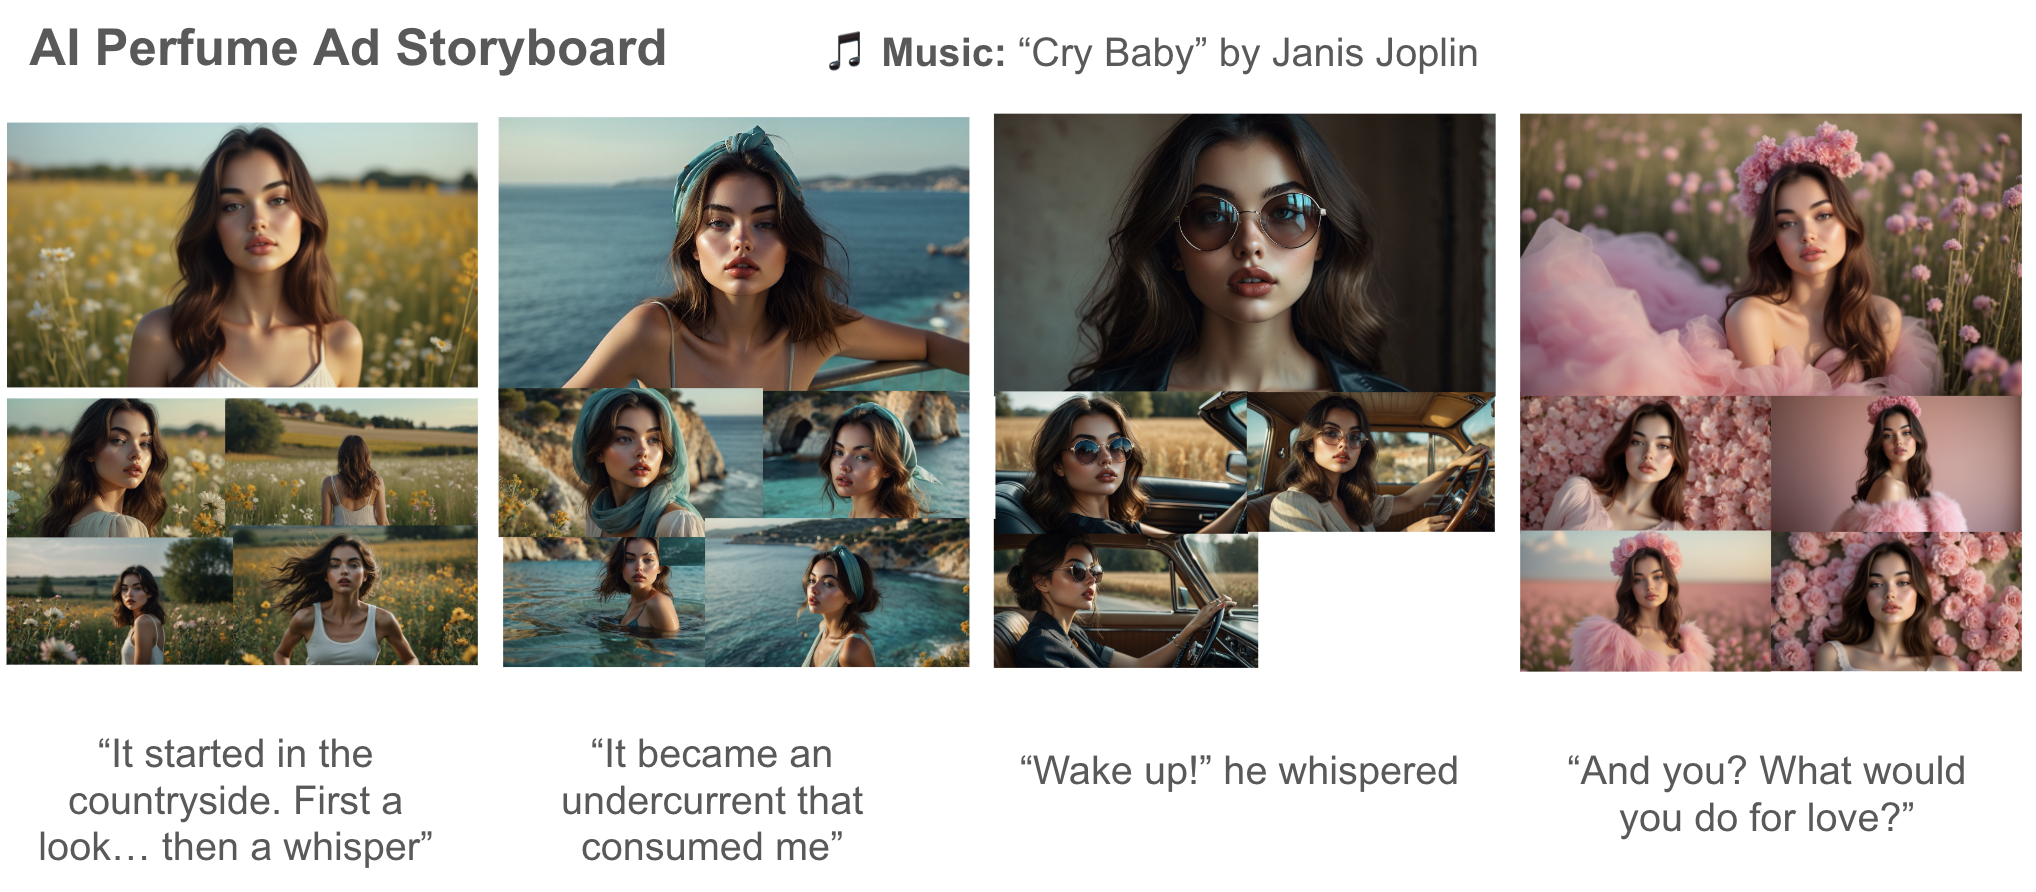
You should finish this step with a rough storyboard outline of your ad. You don’t need to create an explicit storyboard like this but you can if it’s useful. As you can see, my storyboard contains: potential images for each section of the ad, a draft script for each section, and music.

Alternative: Use Leonardo to generate character images
Leonardo AI (app.leonardo.ai) is a great alternative tool for generating images of your character. You can either craft a character from scratch or use the “Character Reference” option to put the character in different scenes. Personally, I like to use Infinity for generating images that I plan to turn into talking clips and Leonardo for images that I plan to turn into action clips. Watch the full Leonardo tutorial in the video tutorial.
Step 2: Generate video clips
Create talking head video clips using Infinity
Start to work through the talking portions of your storyboard script by loading the image and typing out the script into Infinity. Here are my recommended video generation parameters:
Crop Face: OFF
Resolution: 250k or 400k
Stability: Expressive or Medium
I typically start by generating 3 different clips with different generation parameters for each talking head scene. I use “stable” mode if it’s very expressive audio (e.g. with lots of exclamation points and capitalized words). I see which permutation is closest to working best, then I generate more of that until I get a perfect clip.
Tip: It often takes MANY generations (a lot more than 3) to get one that is good for the final video. This is normal.

Generate action video clips using Runway
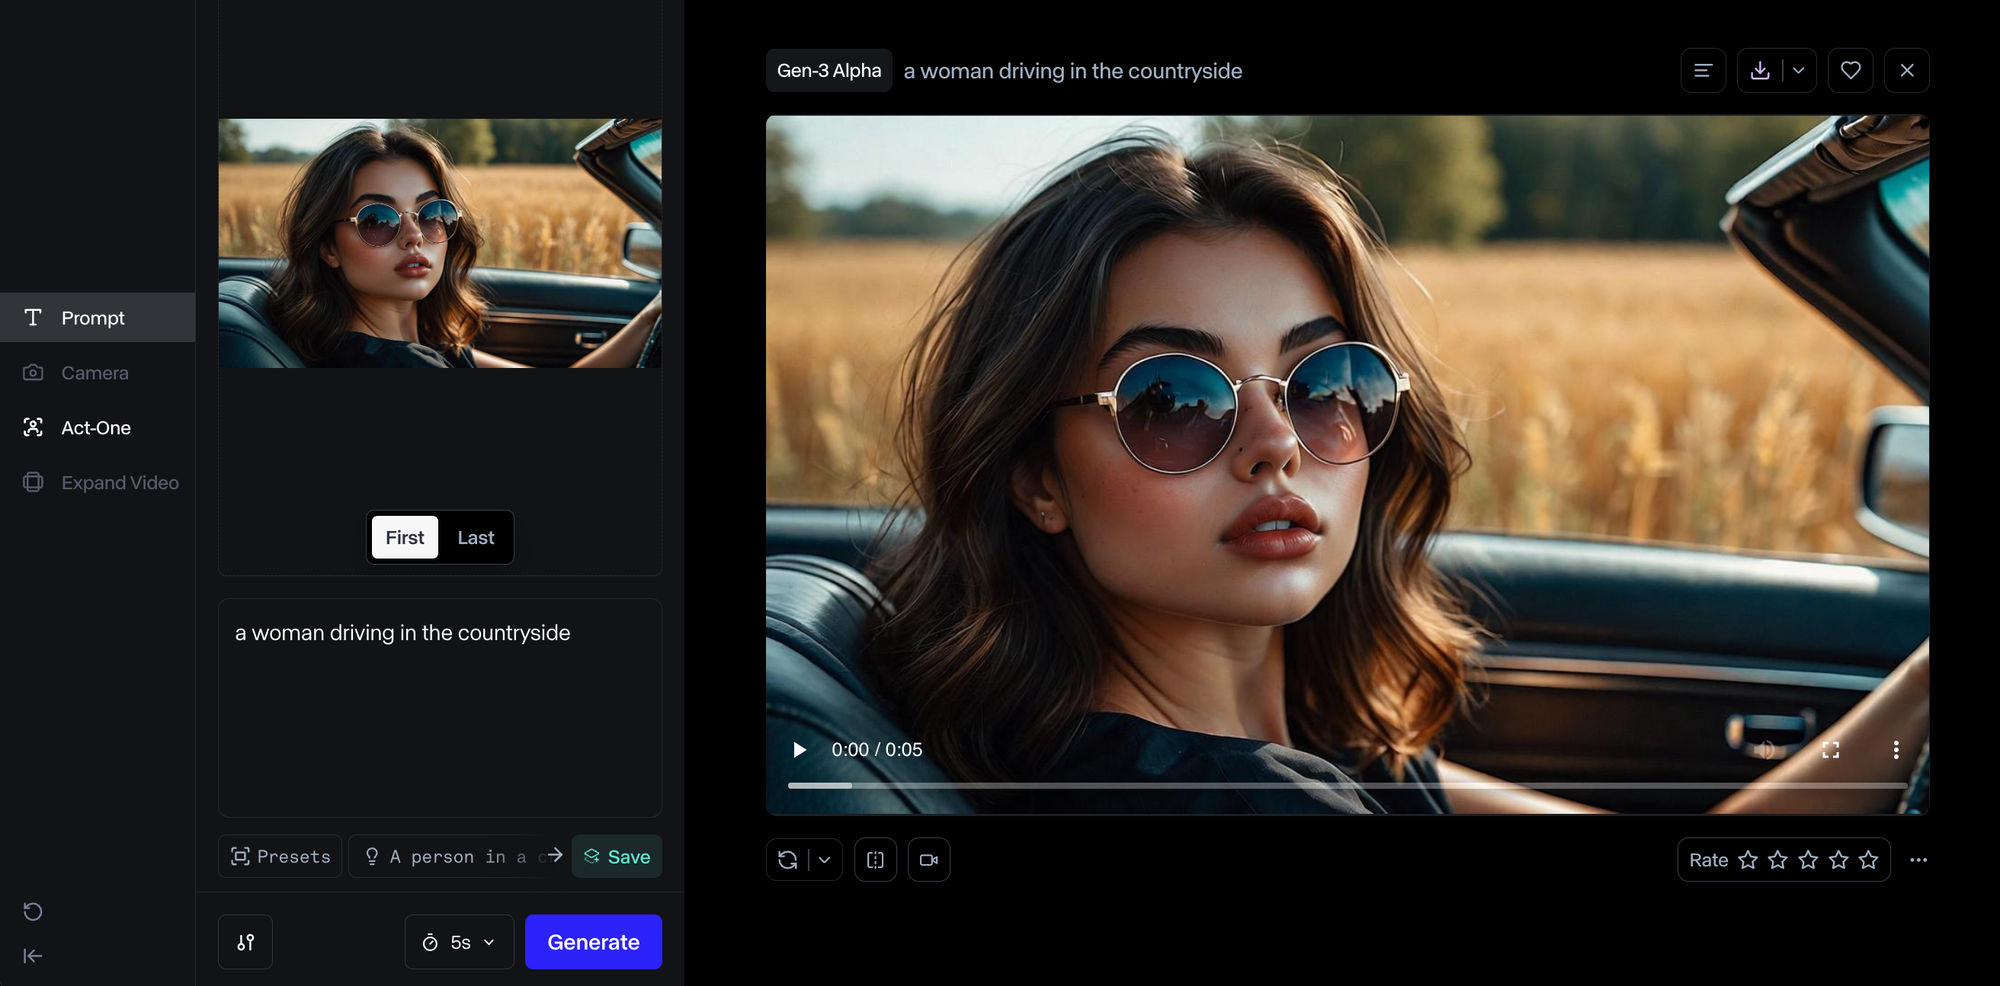
Go to Runway (app.runwayml.com) and click on the “generative session.” We’re going to do an image-to-video generation by uploading an image, deciding if it should be the first or last frame, and then prompting how we want the video to look. You can either do a generic caption like “woman swimming in the sea” or not use a caption at all. There is a separate section for camera controls (“Camera” instead of “Prompt”), which I like using.
Tip: Don’t be afraid to change part of your ad or script once you actually see it. This is the normal give-and-take of creative projects and, especially AI-generated creative projects. You need to merge your vision with the capabilities of the existing tools.

Step 3: Editing and Finalizing
Download the final versions of your talking head and action clips. Load them into your favorite video editor. I like to use CapCut. Here are a few editing tips that I show how to do in the video tutorial:
- Match the visuals to the music. Any video is more emotionally resonant when the visuals are aligned to the beat of the background music. Use the speed controller and the audio waveform in the timeline to match your clips to the music.
- Use slow zooms to make the video more engaging. This is a common technique used in most YouTube videos you watch. It’s subtle but makes the video much more engaging. You can either zoom in or out.
- Increase and decrease the music dynamically so that the speaking comes through. Use keyframes to dynamically adjust the volume of the music relative to the speaking. The goal is for the speaking to come through clearly without obvious changes in the music volume.
- Add transitions in between clips. These add a nice level of polish compared to straight cuts.
- Color-grade your video. The easiest way to do this in CapCut is to use “filters.”
That’s it! Export your video and you’re done with your cinematic product ad 🎉
Tools used in this tutorial
- Infinity AI (talking head videos + character design)
- Leonardo AI (character design)
- Runway ML Gen-3 (action videos)
- CapCut (putting it all together)
- 4K Video Downloader (downloading videos from youtube)
- VocalRemover.org (separating vocals and instrumentals)
Questions?
Ask questions and get personalized help on Discord: https://discord.gg/cwYV27BvhW